
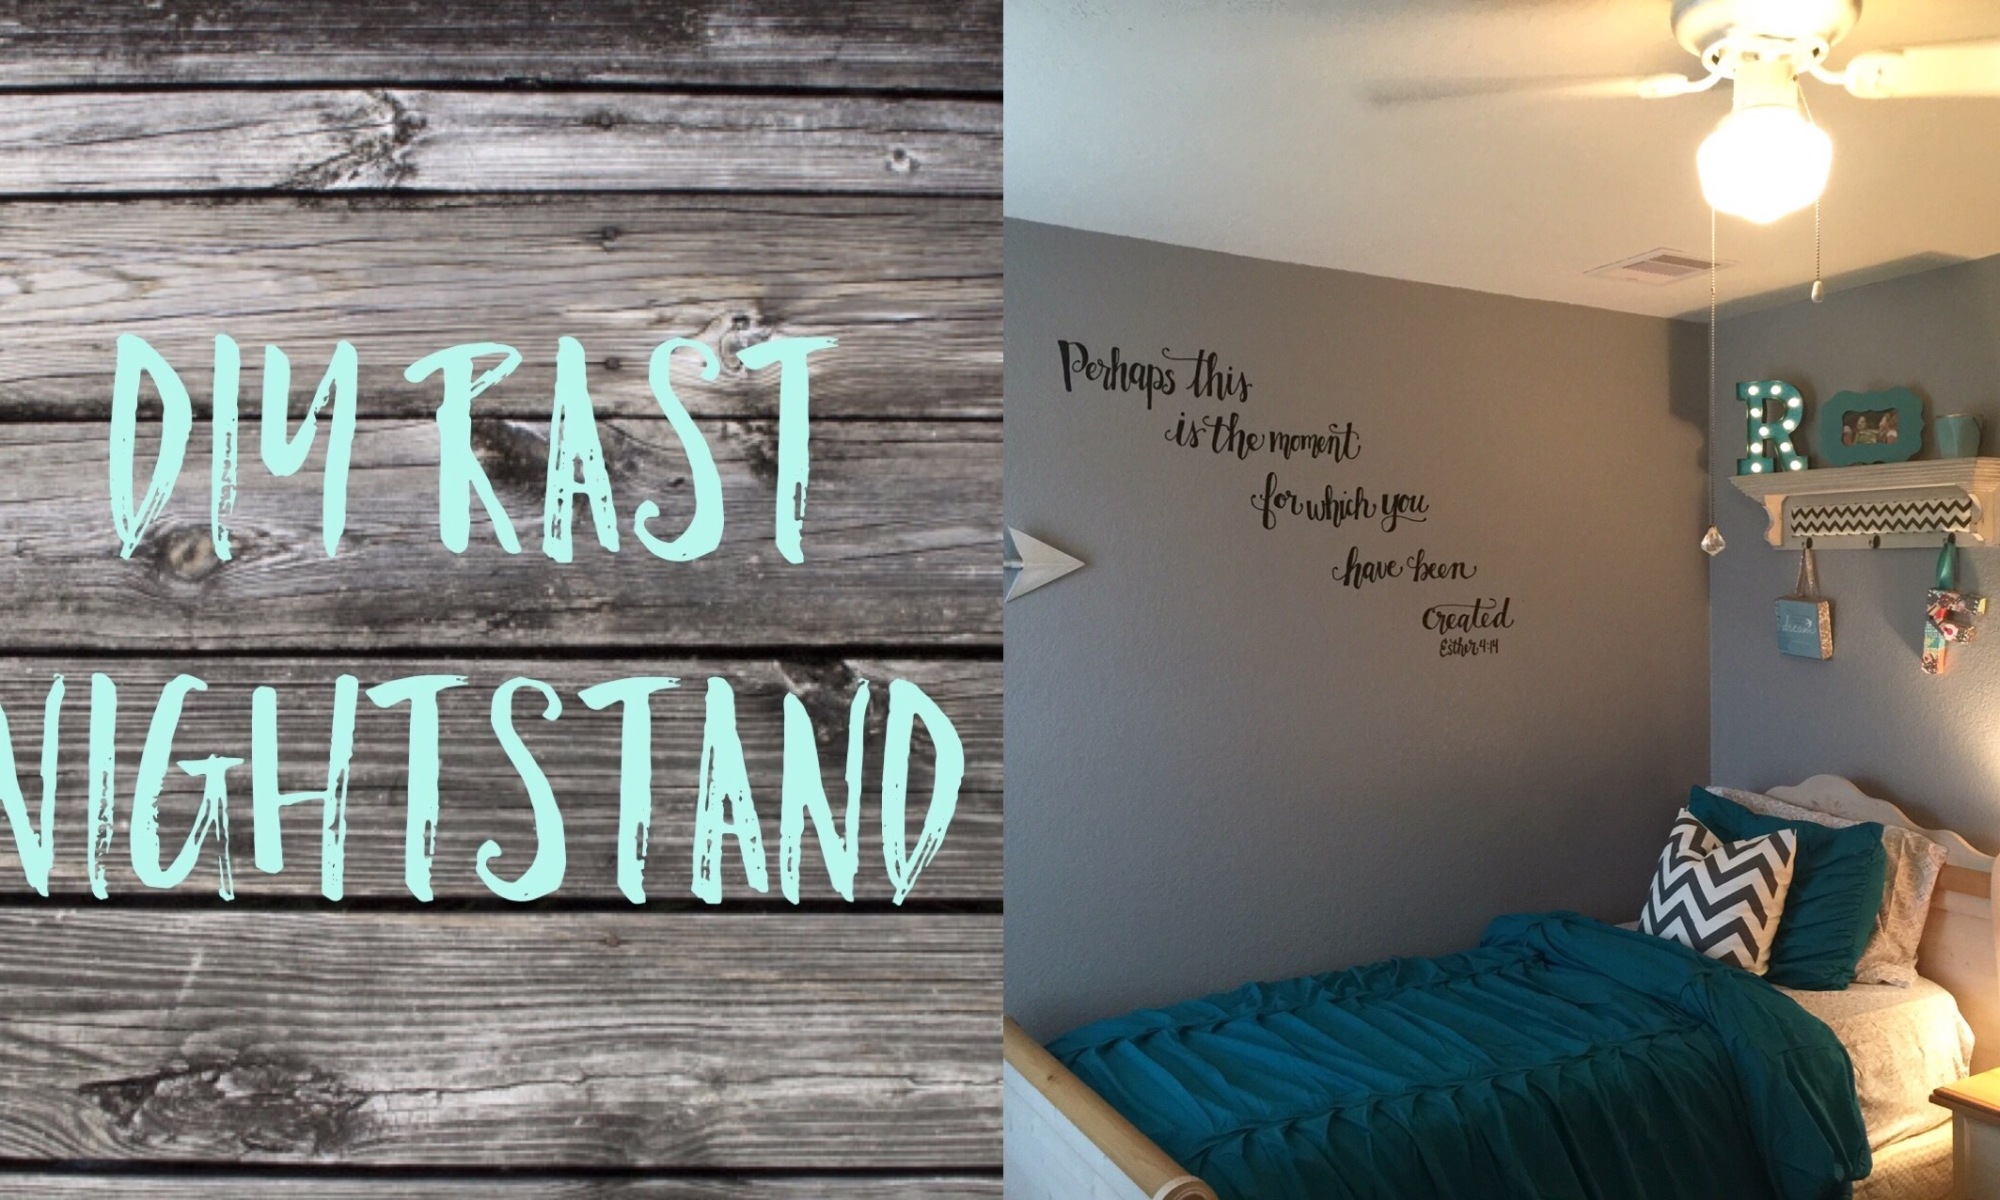

This past weekend I had some fun helping a friend re-do her teenage daughters bedroom! Her daughter was staying at a friend’s house and she wanted to surprise her with a new room when she returned. This was the first time that I was actually able to help design the whole room and put it all together, so I was super excited.
Fayth’s room was a bright pink with a pattern around the middle of the room of white flowers and green stems. It was a super cute room for a little girl, but she was ready to move on to something more grown up and have something that better fit her personality . Mary had some help painting the room by her two younger sons and I must say when I walked in Saturday morning I felt like a proud mom. They did a great job on the painting. The first thing I did before decorating was to move Fayth’s furniture around. I turned her bed and pushed it against the wall because I wanted to maximize as much space as possible for her.
Next, Mary and I made a trip to Hobby Lobby and Target with a budget set. After about an hour and half, we headed home with some super cute items and we possibly went over our budget just a tad 🙂 You win some, you loose some. Finally, the only thing left was to lie out everything we bought and decide where we wanted it all to go. After about an hour, her room was transformed from a pink flower room into a cute teenage room.


We are probably going to go back and chalk paint her furniture and add a little reading nook by her window. It was so fun getting to change Fayth’s room and help her parents surprise her with something new. I can’t wait till the next room I do!


Since this is a DIY blog, I also wanted to show you another fun project I did for the Freeman house that is opening up soon! 🙂 Moving into the house, I really wanted our furniture to blend together and match. I know sometimes when a couple first gets married they don’t have much money and have to live with mismatched furniture until they can afford to buy new items. Landon and I were so blessed because we were able to live these past 4 months of marriage in my parent’s back garage apartment rent-free while our house is being built. During this time, we have been able to not only save money but also purchase some new furniture for the house.
Since we are not millionaires, I tried to find furniture that was less expensive to fit our budget. So of course, I started looking at https://www.restorationhardware.com… haha 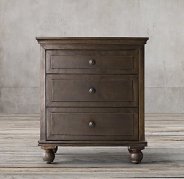 just kidding. If you have never looked there, don’t, because you might possibly fall in love and cry due too everything being so beautiful but too expensive. However, I did look there for some inspiration on nightstands.
With the size of our room and having a king size bed, that we were both unwilling to give up, I knew I needed nightstands that were small but were still able to have some storage ability. That’s when I found the RAST drawer chest from IKEA
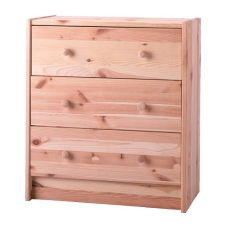
If you have never been to an IKEA, then you are missing out. I love IKEA furniture because not only is it not super expensive it is also easy to change and make your own. I ended up getting one Rast nightstand for Christmas and bought a second one soon after. Oh, another good thing about these bad boys are that they are only $35 bucks! Here the link for the RAST!
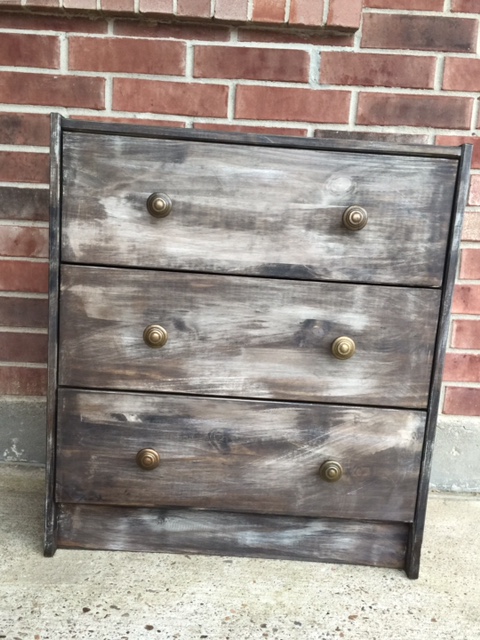
After I got them I started imagining what I wanted them to look like. I decided that I wanted them to be opposite of our other dressers. Which are both mostly white with a dark walnut stain accent. I started by staining the night stands with the stain “Dark Walnut” from Lowes. If you have never stained before then I encourage you to start right away, its so fun! I love staining furniture and its actually quiet simple, but can be a little messy.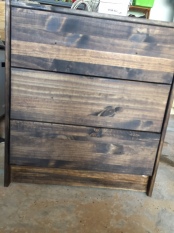
The key to staining is having a rag to wipe away the stain right after you apply it to the wood. I was able to stain both nightstands in about 30 minutes and then let them dry for a couple hours. I liked them being only stained at first but I knew that I needed to tie in some white some way, some how 🙂
I then started to make white swipe marks all across the nightstand. After the white paint dried I sanded it down with 50 grit paper so it wouldn’t sand down to the wood but only blend the colors better.


Next, I took the rag that I stained with and lightly wiped it over the white marks so that it blended with the brown better without such a contrast. The easy thing about this project was that if I didn’t like the way the white was looking or thought it didn’t blend well, I just swiped over it with my stain rag and started over.I got some knobs 50% off at Hobby Lobby and thought they matched perfectly with the night stand.


Overall this project probably cost me around $100 for both night stands because I already had the stain and white paint. I cannot wait till we move into our house and I can put these next to beautiful white shiplap walls in our bedroom. Only 12 more days!!!!
Stay tuned for more DIY home projects!
Hannah Freeman
Here a couple more DIY Rast makeovers that I thought were so cute.


In order from Left to right: House by Hoff, Cherished Bliss, Addison Meadows Lane
